How to Make Crochet Doll Hair (5 Easy Methods)
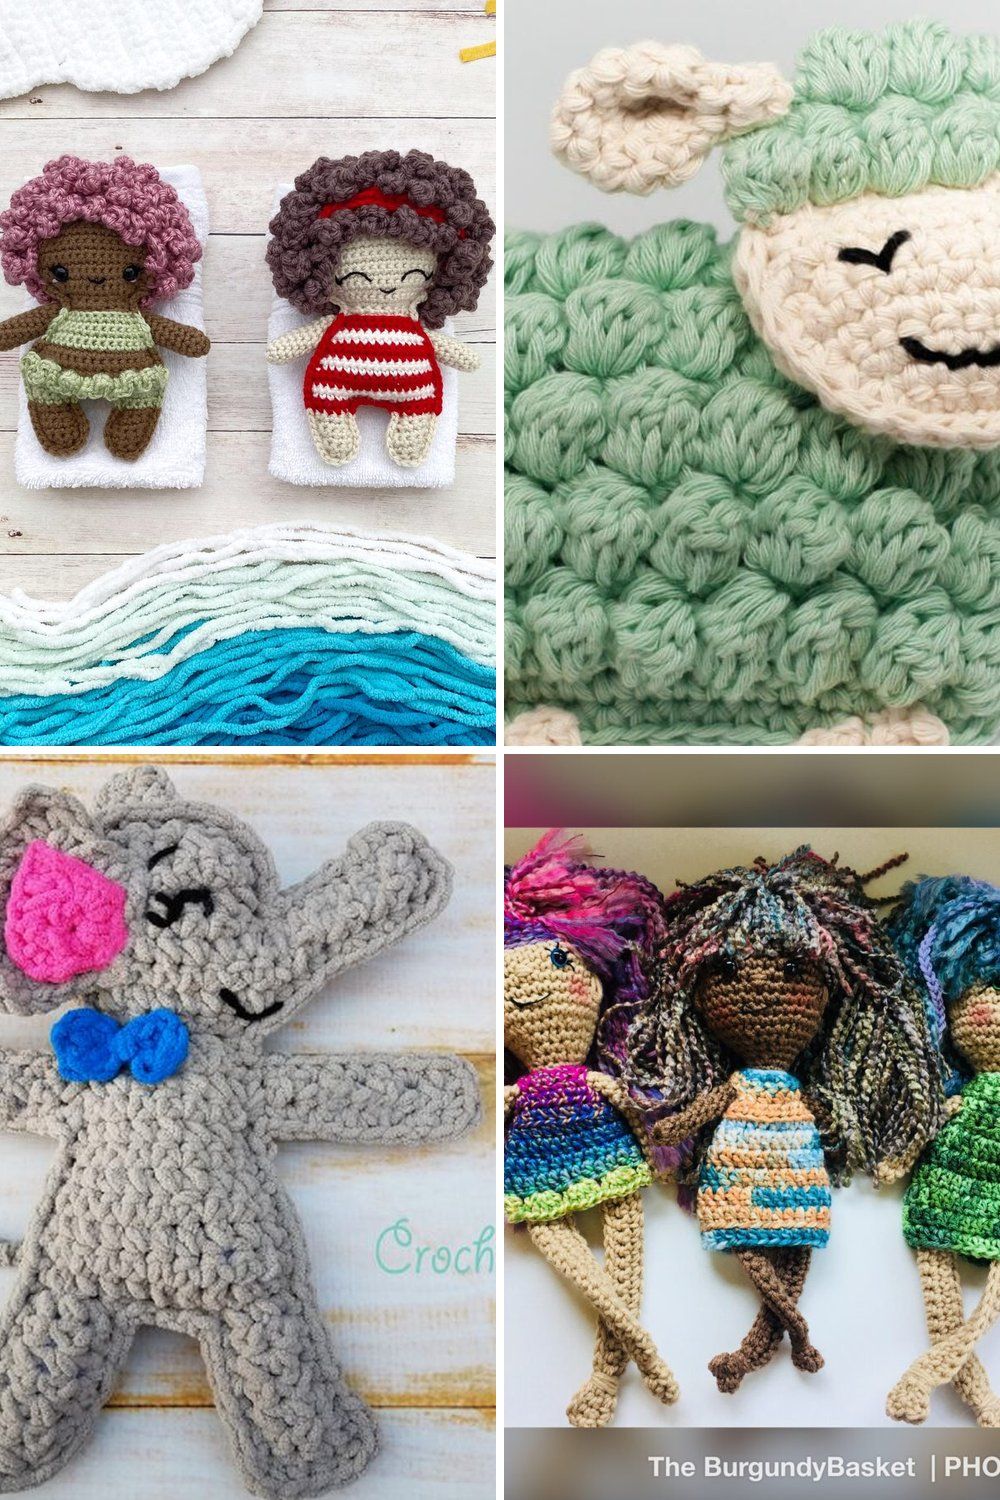
Hair is what turns a round ball of stitches into a real character. The same doll can look sweet with braids, sassy with a bob, or sleepy with a little curl on top. The good part is that crochet doll hair is not hard. You only need yarn, a hook, a needle and a bit of patience.
In this guide you will learn five easy methods, from quick to fancy. We cover which yarn to use, how long to cut your strands, and how to keep the hair from falling out. Pick the method that fits your doll and your time.
What You’ll Need
- Worsted or DK yarn in a hair color (acrylic or cotton)
- A crochet hook one or two sizes smaller than the one used for the doll
- Large-eye yarn needle with a bent tip
- Sharp fabric scissors
- A piece of cardboard or a hardcover book for cutting strands
- Fabric glue (optional, for non-baby dolls)
- Pet slicker brush (optional, for brushed hair)
Before You Start: Choosing Yarn and Cutting Strands
The yarn you pick changes the whole look. Use this table as a quick guide.
| Look you want | Yarn to try | Notes |
|---|---|---|
| Smooth, straight hair | Cotton or smooth acrylic | Easy to braid, does not frizz |
| Soft, wavy hair | Acrylic with the plies separated | Untwist the plies for gentle waves |
| Thick, fluffy hair | Brushed acrylic | Brush it out after attaching |
| Short curly hair | Any worsted yarn | Use the spiral curl method (Method 4) |
| Hair for a baby’s toy | Cotton | Holds up to washing, no loose fluff |
Step 1: Decide how long you want the finished hair to be.
Step 2: Wrap the yarn around a piece of cardboard or a book that is the right height. Most tutorials suggest cutting strands about twice the finished length, because each strand is folded in half.
Step 3: Cut across one edge to get a pile of even strands. Always cut a few extra. You can trim the hair at the end.
Method 1: Rooted Strands (Strand by Strand)
This method gives the most natural look and lets you choose exactly where the part and hairline go. It takes the longest, but it is worth it for a special doll. Stephanie at All About Ami shares a great photo guide called “How to Add Hair to Crochet Dolls” (allaboutami.com/add-hair-crochet-dolls).
Step 1: Mark the part with a pin. A good spot is a few rounds above the eyes.
Step 2: Thread one strand on your needle. Push it into a stitch on the head and bring it out in the next space. Leave both ends hanging. No knots are needed.
Step 3: Work along the part line first, then fill the back of the head.
Step 4: Add strands in staggered spots so the hair looks full without making the head heavy.
Step 5: For a doll that is not for a baby, add a little fabric glue inside the head (before closing it) so the strands do not shift.
Method 2: Hair Cap with Bundles
This is the quick way and it is perfect for braids, pigtails or a doll that wears a hat or flower crown. Sweet Softies has a clear “Hair Tutorial” on this method (sweetsofties.com/2020/10/hair-tutorial.html).
Step 1: Crochet a hair cap in your hair color. It is like the top of the head pattern, stopping a round or two before the decrease rounds, so you get a small bowl shape.
Step 2: Take three strands and fold them in half to make a bundle.
Step 3: Put your hook through a stitch at the edge of the cap, catch the fold, and pull it through to make a loop.
Step 4: Pull the ends through the loop and tighten. This is the same knot you use for fringe.
Step 5: Repeat around the edge of the cap. Then sew the cap onto the head and add bangs one strand at a time if you like.
Method 3: Sewn-On Yarn Wig
This is the fastest method of all. It works well for long, straight hair.
Step 1: Wrap yarn around a piece of cardboard as many times as you want. More wraps means thicker hair.
Step 2: Slide the yarn off. Tie the center tightly with a piece of scrap yarn.
Step 3: Cut the loops at both ends.
Step 4: Lay the bundle on top of the head with the tie along the part line. Sew it down along the part with backstitches.
Step 5: Smooth the hair down the sides and tack it in a few spots near the ears so it stays in place. Trim the ends.
Method 4: Spiral Curls
Spiral curls look great on baby dolls, short bobs and buns. They are also very safe because nothing can be pulled out strand by strand.
Step 1: Chain 15 to 25, depending on how long you want each curl.
Step 2: Work 2 or 3 single crochets (or half double crochets) into each chain from the second chain from the hook. The extra stitches make the strip twist into a spiral.
Step 3: Fasten off and leave a long tail.
Step 4: Make as many curls as you need, then sew them to the head in rows, starting at the nape of the neck and moving up.
Method 5: Stitched (Embroidered) Hair
For small dolls, babies or a short haircut, you can simply stitch the hair right onto the head.
Step 1: Thread a long piece of hair-color yarn on your needle.
Step 2: Bring the needle out at the part line. Make long straight stitches from the part down to the hairline.
Step 3: Keep the stitches close together so no head color shows through.
Step 4: For a baby doll, a few short stitches or a single curl on the forehead is enough.
Common Mistakes (and How to Fix Them)
- Bald spots at the part: Add a second row of strands right next to the first, or use a hair cap under rooted hair.
- Hair falls out when played with: Use the fringe knot (Method 2) or spiral curls (Method 4), which are much more secure.
- The head looks too heavy: You used too many strands. Leave every other stitch empty in the back of the head.
- Uneven length: Always cut strands longer than you need and trim the hair after it is all attached.
- Hair looks frizzy: Some acrylic yarns fuzz a lot. Switch to cotton or a smoother acrylic.
- Glue shows on the outside: Use only a little glue, and only on the inside of the head.
Tips
- Use a hook smaller than the one you used for the doll. It slides through tight stitches more easily.
- Finish the face before you add hair. It is hard to place the eyes with hair in the way.
- For a doll meant for a baby, skip glue and choose curls or a sewn-on cap.
- Braid long hair for a few hours and then undo it for soft waves.
- Mix two close shades of yarn for hair that looks more real.
FAQ
What is the best yarn for crochet doll hair?
For smooth, braidable hair, cotton or a smooth acrylic is best. For wavy hair, separate the plies of an acrylic yarn. For curly hair, use any worsted yarn with the spiral curl method. Pick a color that matches your doll’s style and try a small sample first.
How long should I cut yarn for doll hair?
Cut each strand about twice as long as the hair you want, because most methods fold the strand in half. A book or a piece of cardboard helps you cut all strands the same length. Trim the hair at the end for a neat finish.
How do I keep crochet doll hair from falling out?
Use a knot like the fringe knot in Method 2, or sew the hair down along the part. Spiral curls are also very secure. For dolls that are not for babies, a little fabric glue on the inside of the head helps strands stay put.
Once you try a couple of these methods, you will find your favorite, and your dolls will each get their own special look.